
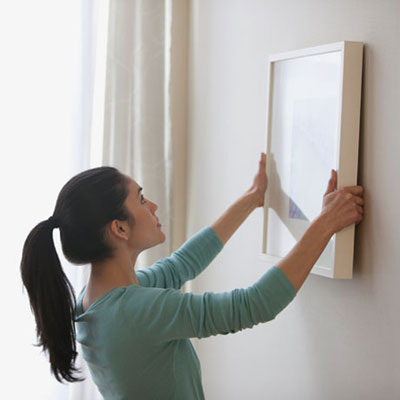
Hanging pictures on walls
Making correct decisions when hanging pictures can be a hair raising experience. Did i put it in the right room ? Did i put on straight ? Did i choose the correct height ? These are some of the question we ask ourselves. If you need to, use a professional and above all, not just like the result but love it !
The Basics
- Choose the wall where you want to hang the photos. It could be a hallway, living room, or bedroom wall.
- Select the photos you want to hang. Also choose photos with a common theme or color scheme.
- Measure the wall space and determine how many photos you want to hang and how they will be arranged.
- Choose the right hanging hardware for the weight of the photos and the type of wall (nails, hooks, adhesive strips, etc.).
- Lay the photos on the floor or a large table to arrange them in the desired order.
- Create a paper template of each photo by tracing its outline on a piece of paper, then cut it out.
- Arrange the paper templates on the wall using painter’s tape until you find the perfect arrangement.
- Mark the placement of the templates with a pencil so you know where to place the hanging hardware.
- Install the hanging hardware on the wall at the marked spots.
- Hang the photos on the wall starting with the center photo or focal point and working outward.
- Use a level to ensure that each photo is straight.
- Use a measuring tape to ensure that each photo is spaced evenly from one another.
- Use picture hooks or adhesive strips to secure the photos in place, depending on the type of hanging hardware you chose.
- Stand back and check the overall arrangement to make sure it looks balanced and visually appealing.
- Enjoy your new photo wall display
The sizes
The most popular sizes for hanging pictures and artwork vary depending on the context, but here are some common sizes:
- 4 x 6 inches: This is a standard size. Works for snapshots and is commonly used for photo albums or frames.
- 5 x 7 inches: Slightly larger than the 4 x 6 and is a popular choice for framed photos and gifts.
- 8 x 10 inches: This dimension works for framed photos and is commonly used for family portraits or other professional photography.
- 11 x 14 inches: This size starts to work for wall art and larger family portraits.
- 16 x 20 inches: This size works for art on walls, particularly for statement pieces in living rooms or bedrooms.
- 18 x 24 inches: This size is a common choice for posters and prints.
- 24 x 36 inches: This size works for large posters and wall art.
- 40 x 30 inches: Stating to get large and statement making.- Looks great on canvas, metal or acrylic
- 60 x 40 inches : Now we are talking. You will need a large wall space for this to look good
Of course, there are many other sizes available, and the popularity of a size can vary depending on the intended use and personal preference.
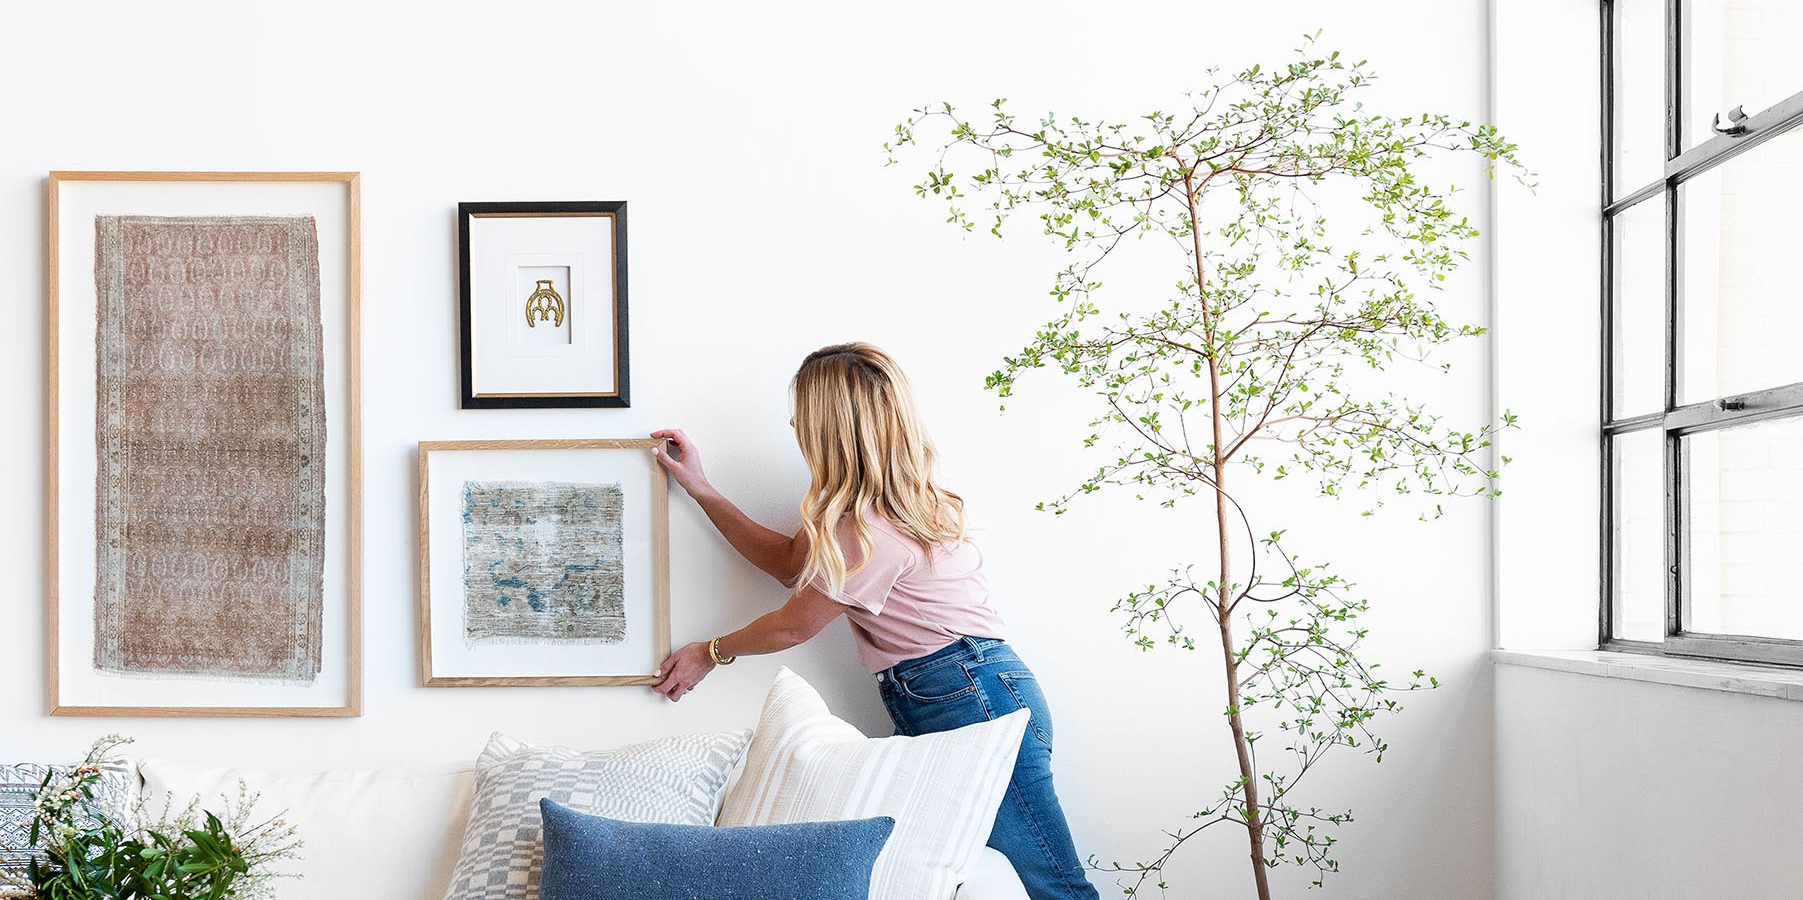
The styles
When creating a group of photos, there are a variety of sizes and configurations you can use to achieve your desired look. Here are some common sizes and configurations for hanging pictures
- Same size: All the photos in the group are the same size. Creating a uniform look. This can look good the photos are all part of a larger series or have a consistent theme. Easy enough to arrange yourself
- Mix of sizes: The photos in the group are different sizes. Creating a stylistic and decorative style . This can work if you have a mix of portrait and landscape photos or want to create a more eclectic look.
- Grid: The photos are arranged in a grid pattern. Each photo the same size and spaced evenly apart. This can be a good option for a more formal or symmetrical look. An easy enough style for you to be able to hang.
- Cluster: Photos are arranged in a cluster. Varying sizes and shapes arranged together in a more organic pattern. This can be a good option for a more casual or whimsical look.
- Gallery wall: A collection of photos arranged in a gallery wall configuration. This includes a mix of sizes and shapes arranged in a more organic, asymmetrical pattern.
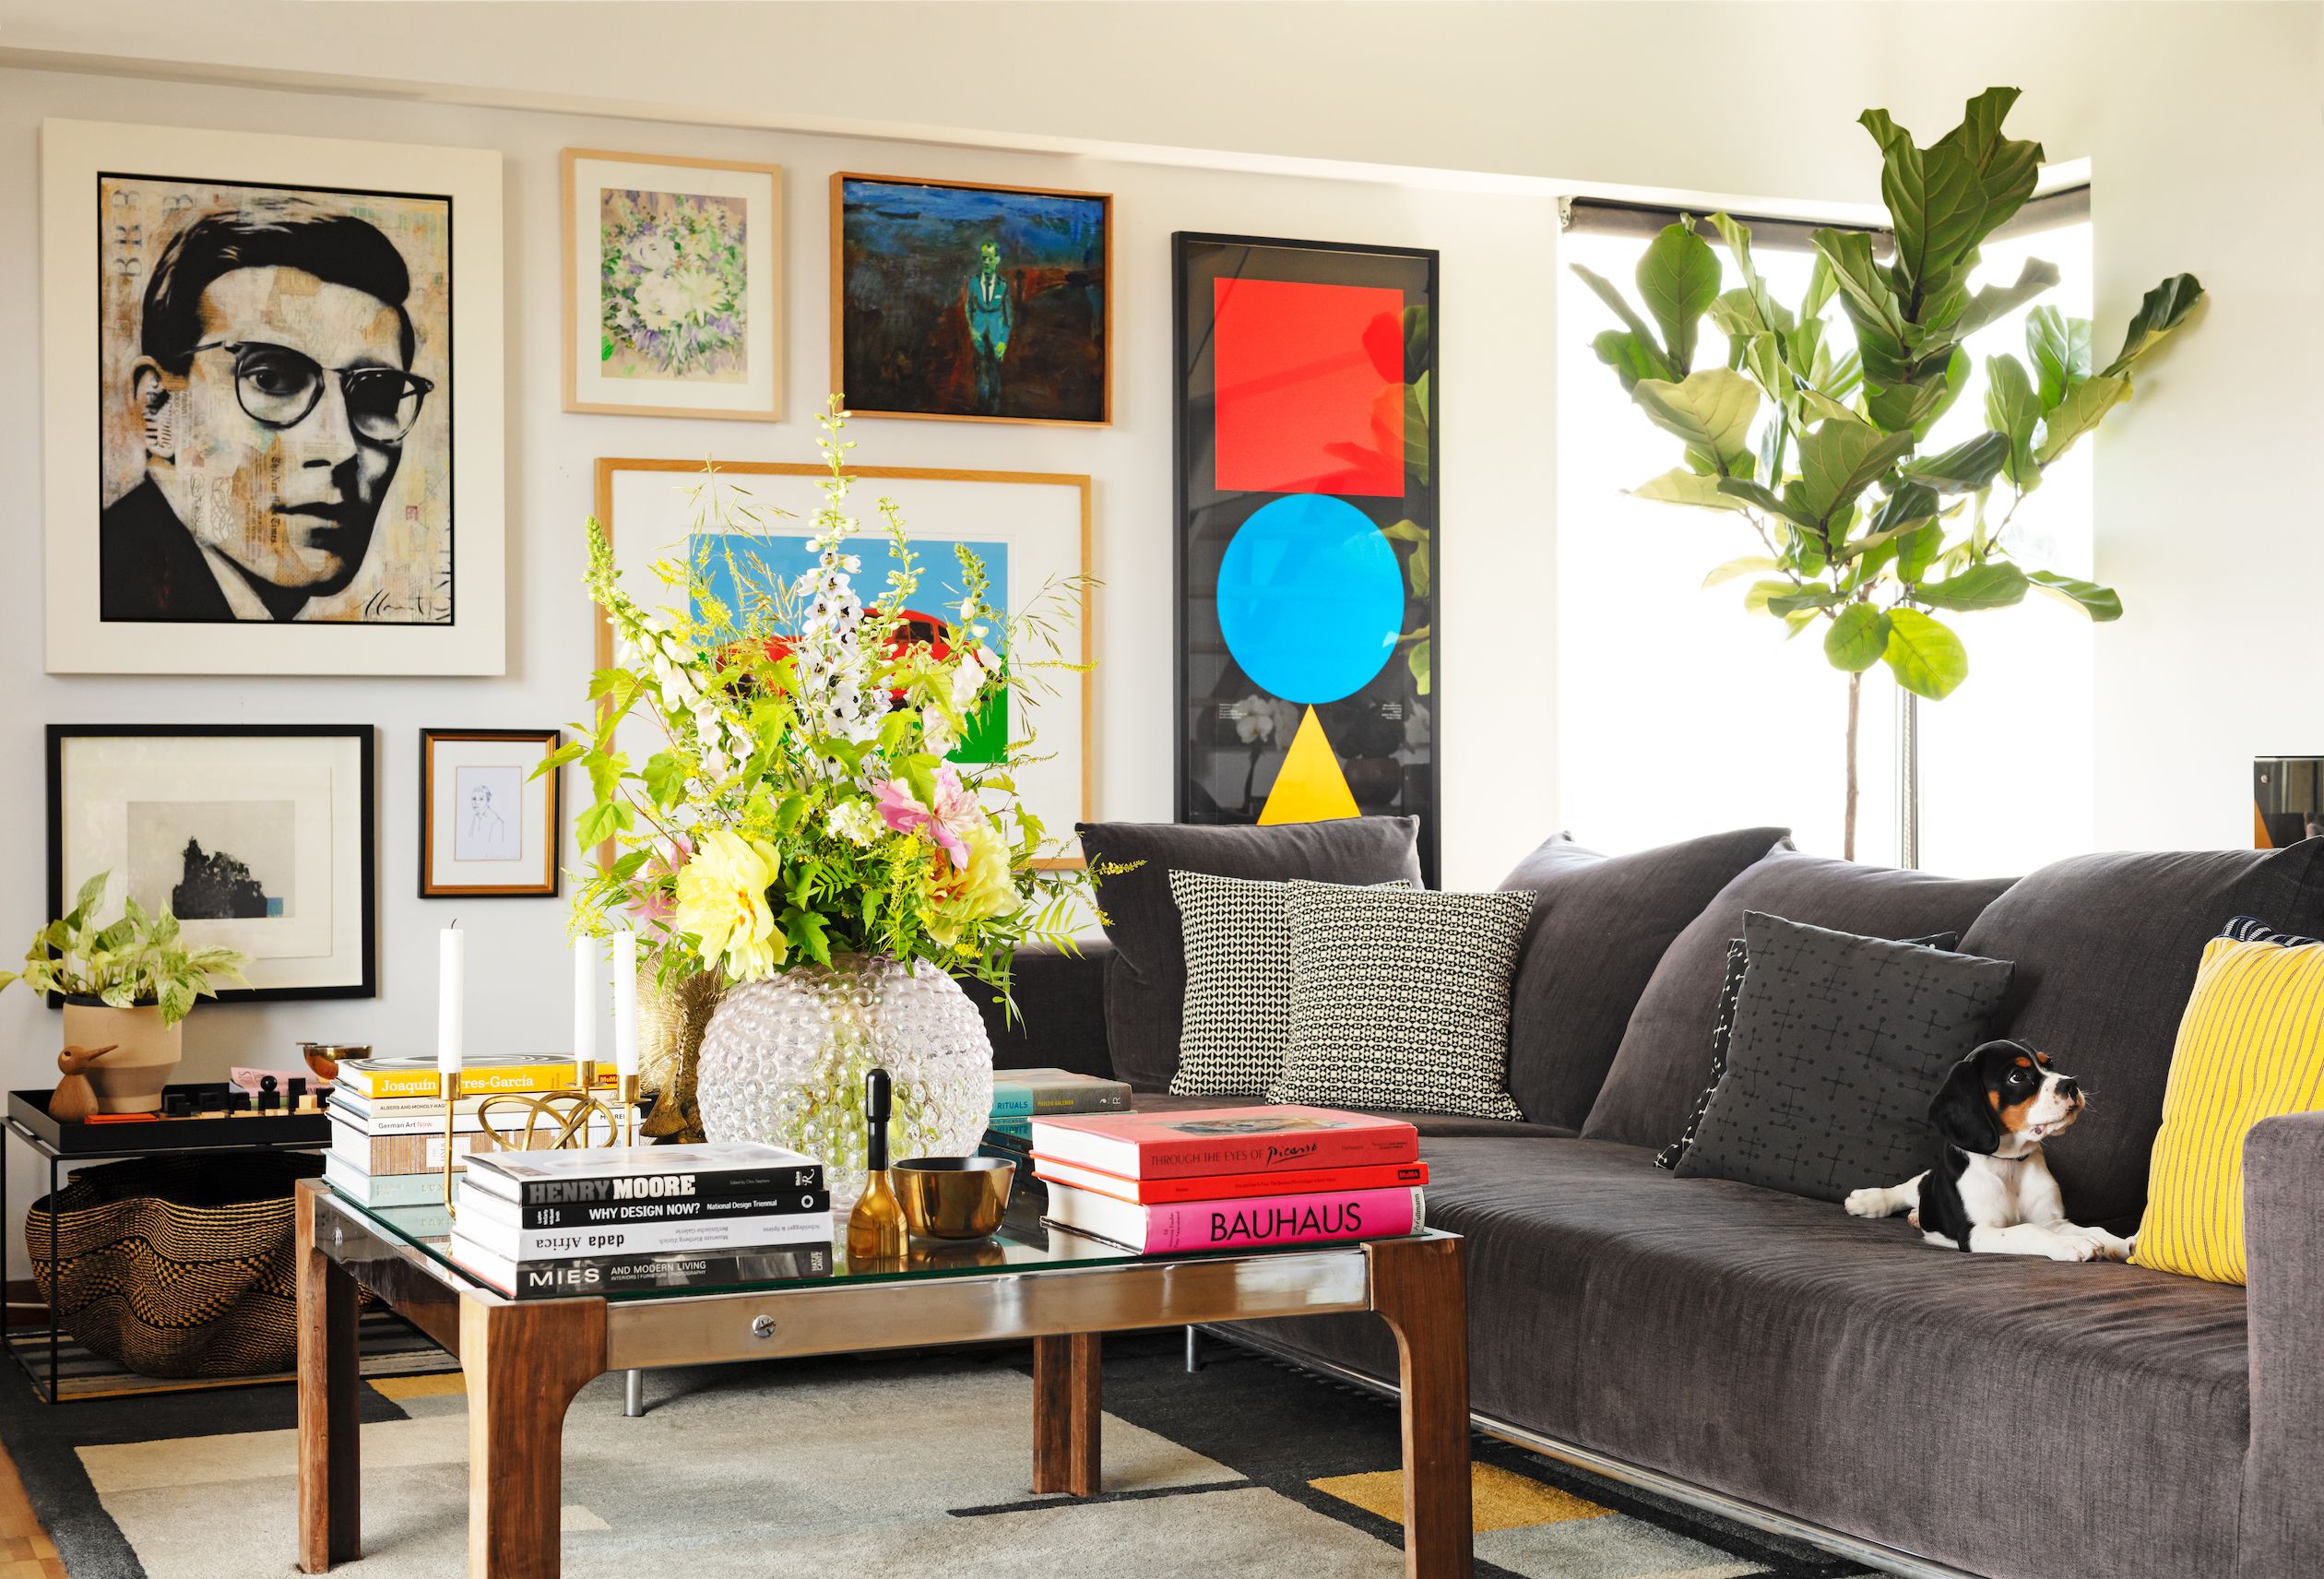
Ultimately, the size and configuration of your group photos will depend on your personal tastes , the available wall space, and the style you’re going for.
You can hang photos yourself, and it can be a fun and rewarding project. However, whether you need an expert or not depends on a few factors:
- Your experience: If you have experience hanging pictures and feel confident in your abilities a expert may not be needed.If you’re new to hanging photos or have never done it before, it may be worth considering hiring an expert to ensure that the job is done properly.
- The size and weight of the photos: Larger and heavier photos may require more specialized hanging hardware. If you are hanging larger heavy pieces make sure it can handle it structure wise- Best to hire someone to make sure the drywall or other material will stay stable,
- The wall surface: Some types of walls, such as plaster or concrete, can be more challenging to hang photos on. If you’re unsure of how to properly hang photos on your wall surface, it may be worth seeking out an expert.
Ultimately, whether you choose to hang your photos yourself or hire an expert is up to you. If you decide to do it yourself, be sure to carefully read any instructions or guidelines that come with your hanging hardware, and take the time to properly measure and plan out your photo arrangement before starting.

