taking photos of original art work to create amazing prints
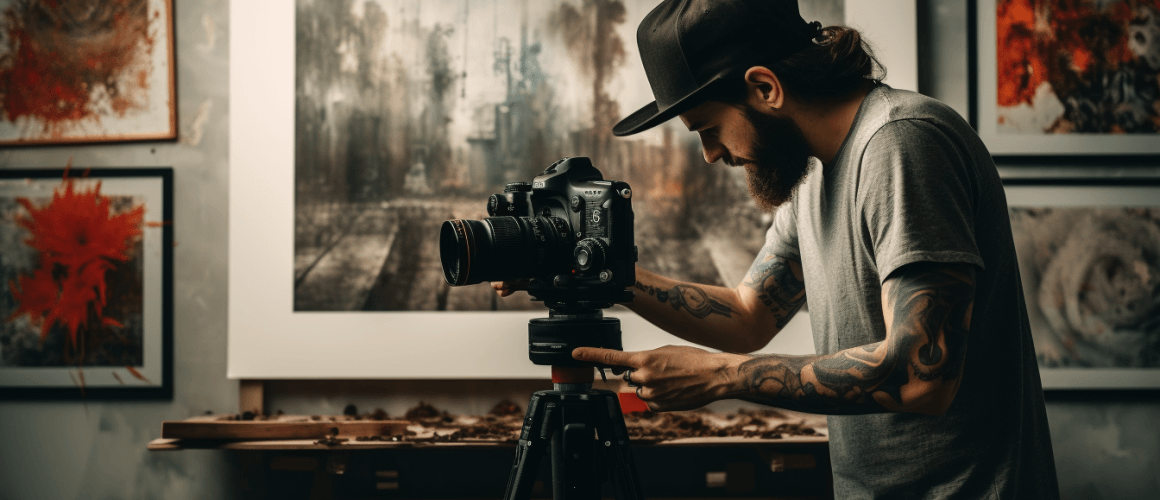
Taking photos on a wall of an existing painting and then printing them digitally is a useful way to reproduce prints. So here’s a step-by-step guide to help you achieve the best results:
- Gather your equipment:
- A high-resolution digital camera or smartphone with a high-quality camera for taking photos on wall
- A stable tripod to prevent camera shake.
- Appropriate lighting: Ideally, use natural daylight or diffuse artificial lighting. This avoids glare and harsh shadows, so you get the best photos on wall results.
- A color calibration tool (optional) to ensure accurate color reproduction.
- Set up your workspace:
- First, place the print you want to photograph on a flat, clean surface.
- Then check that the print is well-aligned and evenly lit.
- Next, set up your camera on the tripod directly above the print. Also make sure it’s level and stable.

- Camera settings:
- Use a low ISO setting, such as ISO 100, to minimize noise.
- Choose a small aperture (high f-number) such as f/8 to f/16. The greater depth of field keeps the entire print in focus.
- Also set the camera to manual mode for full control over settings.
- Finally, use a remote shutter release or a timer to eliminate camera shake.
- Focus and framing:
- First, focus manually on the center of the print for sharpness.
- Then make sure the entire print is within the frame, with no distortion or perspective issues.
- White balance:
- Set the white balance to match the lighting conditions, such as daylight, tungsten, or custom white balance. This keeps colors accurate.
- File format and quality:
- Shoot in RAW format if your camera supports it. RAW files retain more information, so post-processing works better.
- Otherwise, use the highest quality JPEG setting available.
- Exposure and metering:
- Use spot metering to meter the print’s exposure accurately. Then check that neither the highlights nor the shadows look overexposed or underexposed.
- Composition:
- Align the camera’s viewfinder with the edges of the print so you avoid perspective distortion.
- Also keep the print centered and level within the frame.
- Capture multiple shots:
- Take several shots with different exposures or settings, so you have options for post-processing.
- Post-processing:
- First, transfer the images to your computer.
- Then use photo editing software, such as Adobe Photoshop or Lightroom, to adjust colors, contrast, and sharpness and remove any imperfections.
- Finally, ensure the digital file matches the original print’s size and resolution for accurate reproduction.
- Printing:
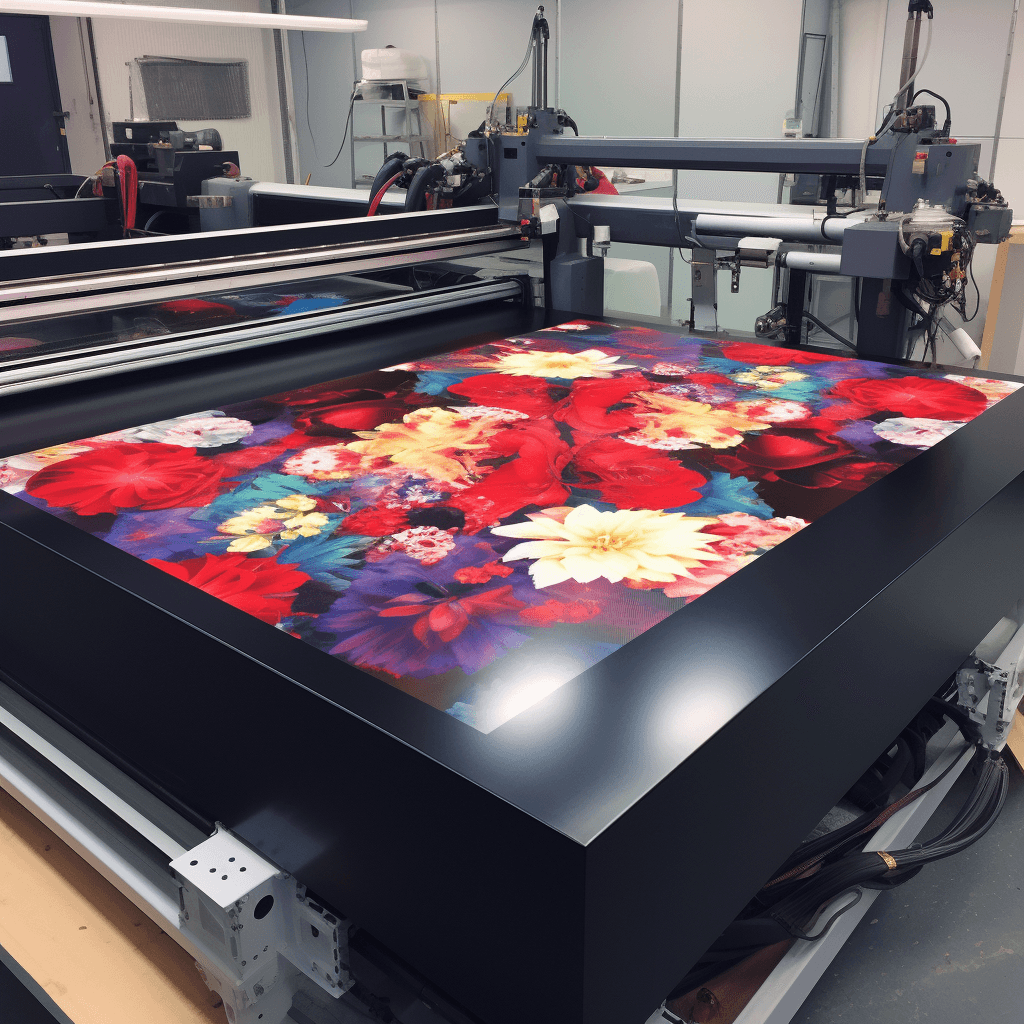
- Use a high-quality digital printer capable of reproducing the colors and details accurately.
- Also choose a paper or substrate that matches the original print’s texture and finish.
- In addition, calibrate your printer and monitor for color accuracy.
- Proofing:
- Print a proof or test print to check color accuracy and quality before producing the final print.
- Final print:
- When you are happy with the proof, print the final version.
Accurate color reproduction can be challenging, so expect to make adjustments during post-processing and proofing. For this reason, calibration tools for your camera, monitor, and printer are essential for consistency and the best results.
Can these photos on wall of image i took be made into Large prints.
Yes, of course. Just remember that it’s ideal to capture shots in the highest resolution available on your camera. However, if you don’t, it’s not the end of the world. There are various software options that allow you to enlarge the file size afterwards.
Next, you can choose a medium.
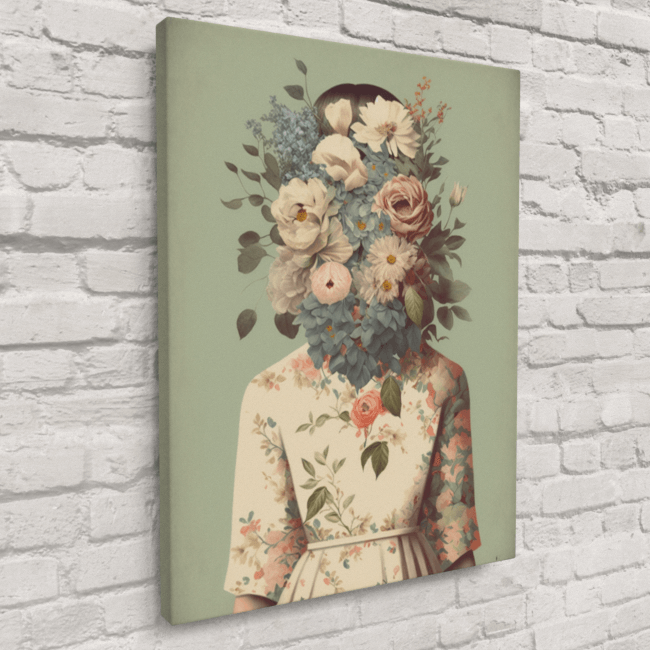
Canvas print
A canvas print reproduces an image or artwork on canvas material. It is a popular way to display and preserve photographs, paintings, or digital designs. People often choose canvas prints for their versatility, durability, and the touch of elegance they add to any space. We also provide several printing options, so our customers get the best quality canvas print for their needs. Our canvas prints come in various sizes.
Whether you want a single panel or multi panel canvas design, Big Acrylic can help. We create stunning artwork with vivid colors and clear images.
Metal print
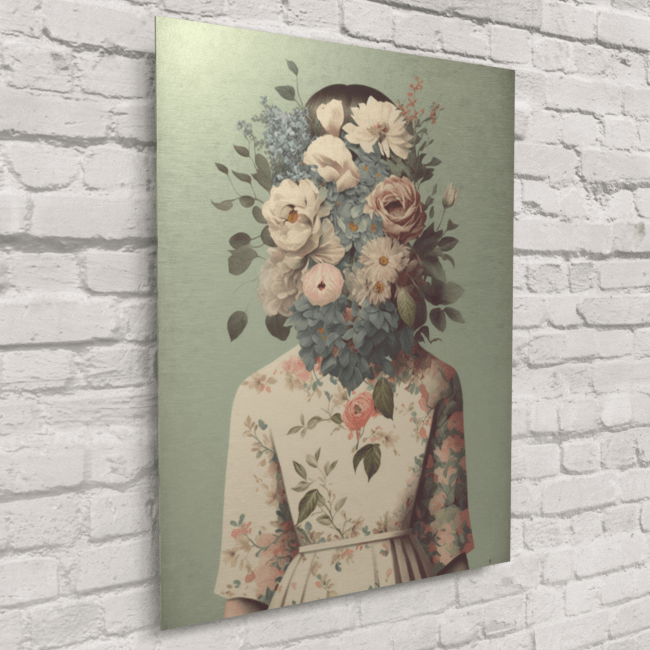
A metal print is a visually striking form of art or photography reproduction. It involves printing an image directly onto a sheet of metal. As a result, metal prints offer a unique, contemporary way to showcase images with stunning visual impact.
You have the option to choose between brushed metal (glossy or non-glossy) or white metal (glossy or non-glossy). Additionally, there are several display options available for your selection.
Acrylic print
Transform your favorite photos into stunning works of art. Enjoy vibrant colors and sharp details with high-quality printing on a durable acrylic panel. It is perfect for showcasing memories and adds a touch of elegance to any space. Then select from various thickness options and display choices to create a truly customizable product.