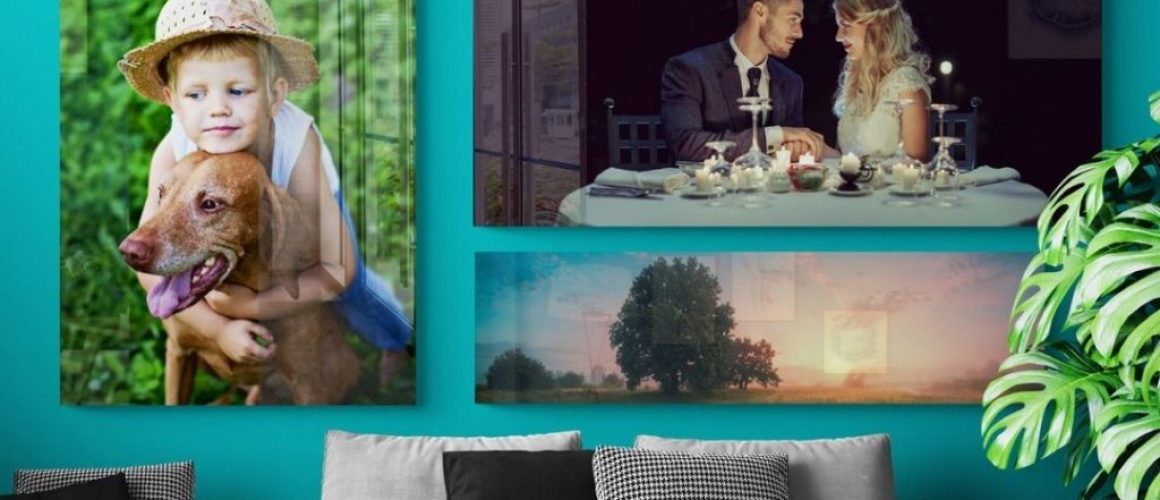
Best Way to hang up Acrylic Photo Wall art
Hanging picture frames can be a challenging task for many people. If you include specialty frames and materials, the job might become so overwhelming that the prints end up collecting dust in a closet rather than being displayed. Don’t be intimidated, though; hanging acrylic photo wall art is easier than you think.
How to Measure and Hang Up Acrylic Photo Wall Art
In this article, I will not only teach you the proper way to hang your acrylic wall art. But I will give you tips on creating the perfect wall gallery of acrylic photo prints that will boost the aesthetic of any given room.
Acrylic photo wall art is the perfect way to allow your personality to shine through your decor to showcase what you’re passionate about in a unique way.
Decide The Height For Your Acrylic Photo Wall Art
Taking some pointers from Lowes, it’s important to map out not only where you want to hang your art. But, it would be best to decide how high to hang it for proper viewing.
A gallery wall’s center should be 57 inches high. If you are hanging a group of pictures, you can hang them at that height. Art placement in museums and galleries is based on the 57-inch standard, which is based on an adult’s average eye height. It is typically best to place the most oversized frame at the top or bottom of a grouping.
As a general rule, the midpoint of a piece of art should be between 57 and 60 inches above the floor. If any members of the household are short, aim for the lower end of the scale. Artwork can be hung about 60 inches above the floor in rooms with ceilings higher than eight feet.
Why is this important? Remember, it’s not just your height; it’s everyone who will see your beautiful wall art. You want an excellent average height that isn’t too short or too tall. I love the 57-inch standard for helping to keep this tip in mind.
Short ceilings? Hang your art in the third quadrant up from the floor if your ceilings are low (less than 8-9 feet).
What about furniture? Even if this breaks the 57-inch rule, allow 8-10 inches above the sofa back when hanging art above a couch or sofa.
Design Your Wall Layout
If you have trouble picturing how the gallery wall arrangement will look when it is hung on the wall or if you are hanging pictures by yourself and want one last check, you can trace the frames of the acrylic wall art on paper and place them on the wall with painters tape. Using this method, you can make quick adjustments, move them around, and see how things work before you start hammering.
Psst… if you’re having trouble with design layout, lay your templates on the ground and experiment with different configurations. I promise you it makes a huge difference.
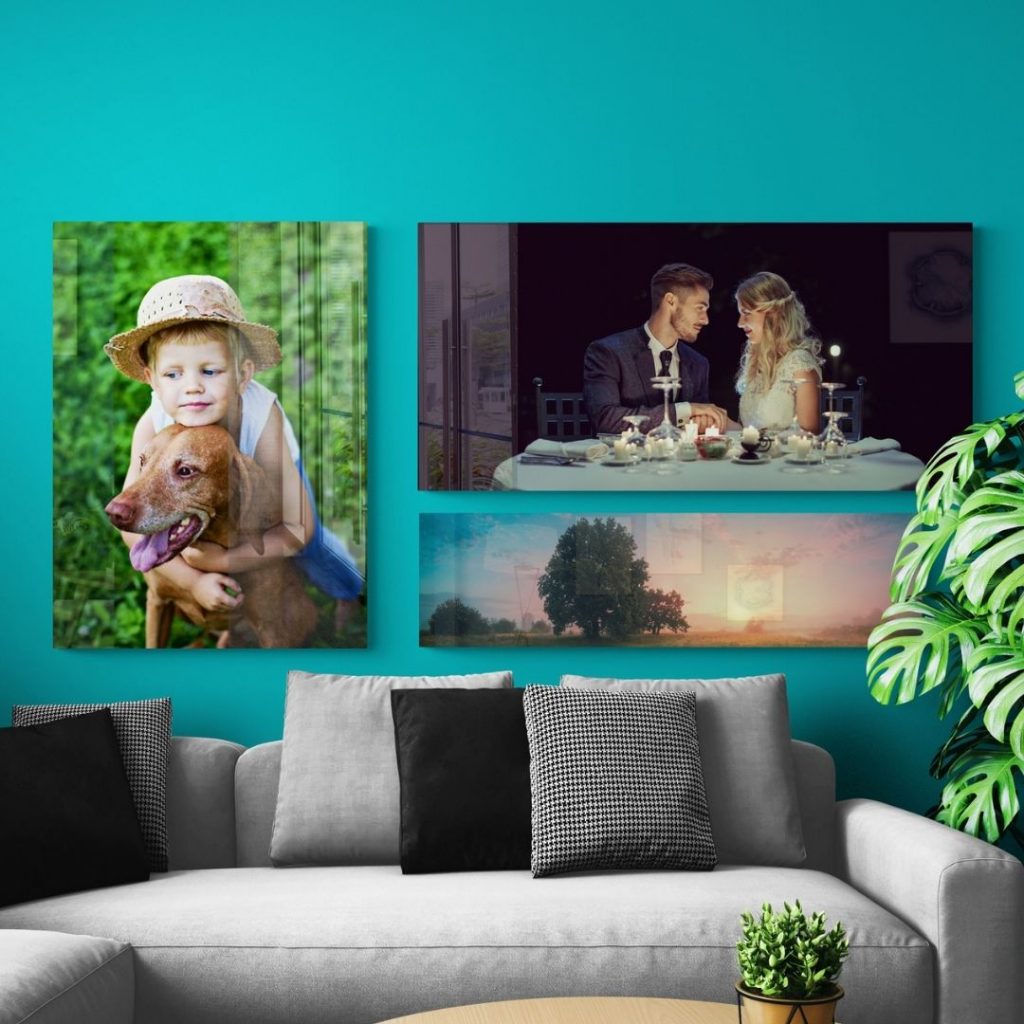
It is important to treat a collection or gallery of art as one piece for a balanced look when working with it. First, make sure your collection does not have an out-of-proportion size compared to your sofa or sideboard. Ideally, the artwork should be two-thirds of the length or width of the sofa or wardrobe. In a group of pieces hung together, hang the heavier pieces at the bottom left and the lighter pieces at the upper right while the mid-sized pieces are placed in between. Space frames 2-5 inches apart for optimum aesthetics. To keep frame spacing consistent, use low-adhesive tape, like painter’s tape.
Popular Gallery Ideas
There are many different ways to arrange your wall art into a unique gallery. You will be inspired by these gallery wall ideas to fill any blank canvas, no matter how large or small.
Additionally, by introducing some of your personality to the decor scheme, everything will complement each other. So experiment with designs and find one that you love!
Hardware for Hanging Wall Art
Everyone has undoubtedly used a brad nail to hang a picture. However, these pictures are most likely to fall off the wall or need to be straightened regularly.
A single nail in drywall will not support much weight, so you need to invest in proper hardware instead.
My preferred choice is self-tapping screw anchors and screws since they provide a wider balance point without wires. Wire hangers with steel hooks have also proven successful.
A picture frame’s hanging hardware is determined by the weight of the picture and the type of wall it is installed on, which could be plaster, drywall, concrete, or masonry.
Not sure which material your wall is made of? Try poking a pin through it. It will go through drywall. For masonry walls, you need a drill with a masonry bit and masonry screws.
Picture-hanging hardware is rated for weight based on the weight of the picture. If it is heavy, secure the hangers to studs.
Additional Picture Hanging Tips
This handy tip from Bob Vila will help make clean-up a breeze. It is not unusual for artwork to be hung in a finished room, which can cause drywall, plaster, and concrete dust to fall on your carpets, floors, or furniture. To collect most of the dust from your pilot hole, place a simple, folded Post-It underneath your marked hole.
What’s the fastest way to mark a hole? Grab the hanger on the back of the picture with wet fingers after licking your middle knuckle. When the picture is exactly where you want it, press your knuckle against the wall. You’ll see a light mark left by saliva that you can use to hammer the nails.
Custom Art Prints
For high-quality professional photography printing, Big Acrylic is your best choice. Our modern and creative solutions will make sure the end result.

