
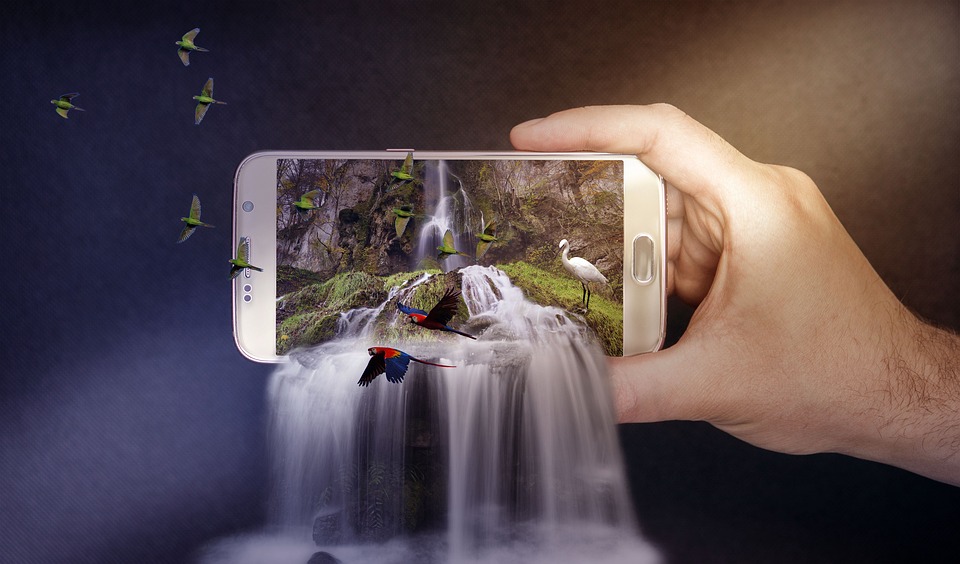
Editing Photos in Photoshop? Here’s Why You Should Give it a Go
Since the launch of photoshop, it is unheard of to not know of it. Even if you may not know how to use it or how it works, there is no way that you would not have seen its results, an ad, or a conversation on the program.
Editing in Photohop
Photoshop is one of the best editing software available – owing to its mind-blowing results and endless possibilities. It is just one of those things that has gained immense popularity over the years, especially since the rise of internet use. However, if you have been living under a rock, let us take it from the top!

What is Photoshop?
Let us begin with a simple explanation. Photoshop is a photo editing tool used for alterations of digital photography. The most common software being Adobe’s Photoshop. It was first introduced in 1988 by Thomas and John Kroll who developed it with the help of Adobe. It was initially released for the use of MacOS and Windows and was utilized sparingly for professional purposes only. However, recent trends have made it very common and household software that everyone likes to play around with.
What can be done using Photoshop?
There are a number of different things you can do to your photos if you are eager enough to learn how to use Photoshop. Some of these things are, photo manipulation, cropping, resizing, changing colour schemes and plethora of other useful things too.
How to edit photos using Adobe Photoshop?
Now let us talk about how to edit pictures using Photoshop. So you want to learn how to use Photoshop in order to start editing your own pictures? Do not worry; here we are going to show you a step by step guide as to how many different things you can do while editing pictures using Photoshop. If you are beginner aiming to learn how to use this nifty little software, without further ado, here is a list of different ways you can use Photoshop to edit pictures!
1. Image cropping for the sake of better composition
You start off with a photograph of yourself and perhaps you are not the centre of attention in it. Maybe it is one of those family photographs where you got shoved to the side and ended up looking really nice. So how do you use it on social media without having to tag all those other people in the photo? Simple! Crop them out!
By using Adobe Photoshop’s cropping tool, you can simple crop out all the people you do not want in the picture leaving yourself as the centre of focus only! Not only this, using this tool is as simple as selecting the crop tool from the tool bar kit and then just fixing the aspect ratio you want. Once that is done, hit enter and voila! Perfect composition and wonderful for an Acrylic Print.
2. Fixing the exposure in your pictures
Has it ever happened that you ended up taking what you hoped was an amazing picture but when you see the result, it is overexposed and washed out? With Adobe Photoshop, you no longer have to delete those photos. You can simply correct the level of exposure you want by fiddling with the tools given in Photoshop.
All you have to do is select the image you want to alter. Choose the ‘adjustments’ option from the drop-down menu and edit away. A number of options will be presented to you. These include:
- Brightness and Contrast
- HDR Toning
- Curves
- Levels
- Exposure
- Highlights and Shadows
- Etc
You can alter these options until your photo’s exposure is exactly as you want it. Using these tools is fairly simple. You will be shown a bar and you can toggle the marker between the two extremes to get the result you desire. Check out this finished product, an excellent image for a Metal Print.

3. Color Adjustments
Oftentimes, when we take a photograph, it comes out too dull or too bright. Especially photos taken using the flash option on a camera – we could have unexpected results. Sometimes the photo ends up with a red tinge to it and other times there is another hue that is too prominent in the image. Once again, if you master the colour adjustment tools of Photoshop, you can use even those strangely discoloured photographs after pepping them up a bit.
Changing the colour adjustments in Photoshop is another simple matter of just simply clicking on the image and choosing the ‘Selective Colour’ from the drop-down menu. Once you have done this, you will have a list of colours in front of you. Just select the colour you want to adjust and move the marker on the slider until you are satisfied with the result shown in the picture. Other than this, you also have the options to change the vibrancy of the photo, colour saturation and even channel mixer under the colour adjustment section.
4. Make those pesky unwanted extras disappear from your picture
You take a picture only to realize that there are a number of things you are unhappy with. These can be blemishes, dust particles and so much more. One thing they have in common is that they can ruin an otherwise perfect picture.
adobe photo editing
Lucky for you, Photoshop has you covered. Now with their tools, you can make yourself look so flawless in the pictures people might even mistake you for a professional model. For instance, you can use their Spot Healing Brush to simply get rid of any spot in your picture that may have a slight blemish or dark spot. Another very useful tool in Photoshop’s kit is the Patch Tool. You can use this to select a certain area of your image that is irritating your perfectionist eyes and make it match the same colour as the surrounding area.
Other useful tools in Photoshop
Other useful tools you can use are the Healing Brush Tool and Clone Stamp to remove and overlay any blemish, spot or unwanted dust exposure in your photo (you can even fix your old, rusted photos using this feature).
The best part? All these tools are right there next to your image for you to make use of. The user interface is so easy that you don’t even really need a tutorial to understand how it works.

