
Take Amazing iPhone Photographs
When you are out and about and suddenly – that moment – the perfect shot – is right in front of you yet sadly, you have no camera. Do you give up and shrug, “well maybe next time” or do you pull out that handy iPhone and take the picture?
You may not realize that with the advancement in technology, the iPhone is now equipped with enhanced tools for photography. As it is compact and easy to carry around, not to mention, on person at most times – the iPhone camera is a reliable alternative. All that you need is to keep an eye out for an opportunity. Whether an amateur or professional, the crux remains in the importance of content. Let the photograph tell a story and convey emotion. Showcase your own creative visual scene.
To get that amazing photograph on an iPhone, try out a few of these suggestions.
1) Simplicity
Keep it simple! By focusing on a strong composition, you capture the beauty of a subject rather than all the distracting details. Negative space is empty space, and a great way to have an image stand out. Use your body as a tool to zoom in on the scene and remove any unwanted objects. It is a optimal way to interact with the photograph itself. To really showcase an image choose an Acrylic Print.

2)Unique Angles
The most common shot is from chest height yet there are more creative options available. Shooting from a different perspective, such as a side angle, is an easy way to improve your image. By taking on a various angles, you can capture interesting details in the foreground. Again, using your body as movement, like kneeling, bending, laying down, will help achieve a desirable effect.

3) Rule of Thirds
Another intriguing tool is the grid option available on the iPhone, which helps in lining up photographs to follow the rule of thirds. To turn it on, visit Settings > Photos & Camera and enable the Grid Switch. The Rule of Third suggests that an image can be divided into nine equal parts by two equally spaced horizontal and vertical lines, and that the important elements should be placed along these lines and intersections. It permits a more dynamic outcome then simply centering the subject.
 Image taken from www.tapsmart.com
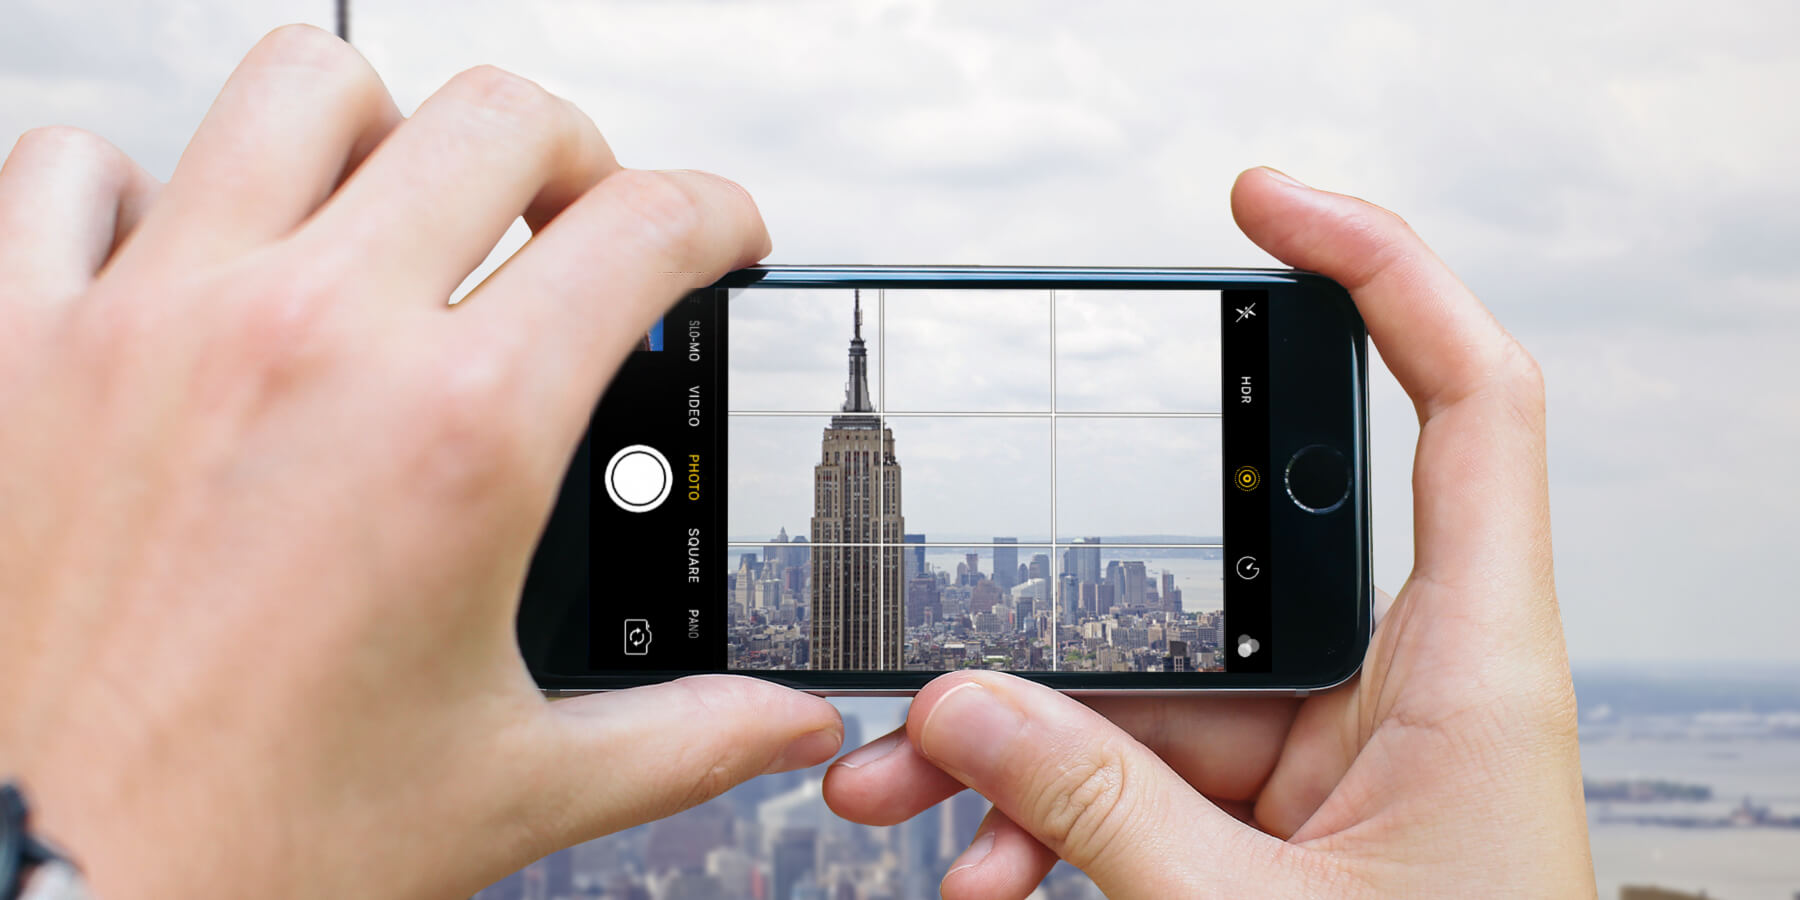 Image taken from www.tapsmart.com
4) Lighting
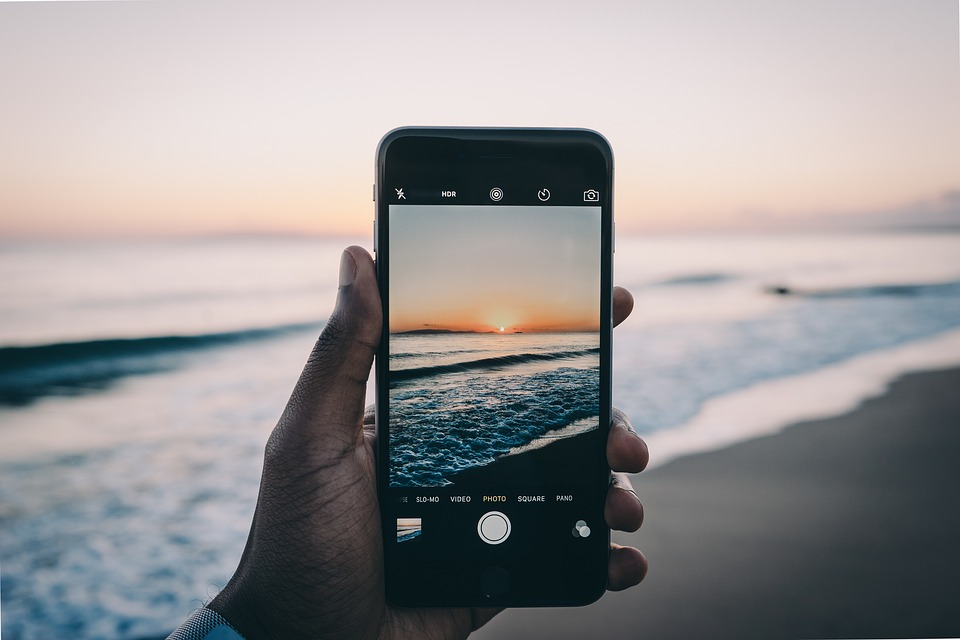
To capture the essence of natural lighting, start off by turning off the Flash. The Flash can be too harsh, resulting in blown out photos, bright eyes, or spots in the image. We all know that bright eyed look of two beaming dots from a flash image. Therefore, to figure out lighting, tap the area where the subject appears, and it will manually adjust the lighting around your intention. Not good enough? Try tapping the yellow square that appears, then the light bulb icon – move it up or down to adjust the lighting until the subject is well lit.
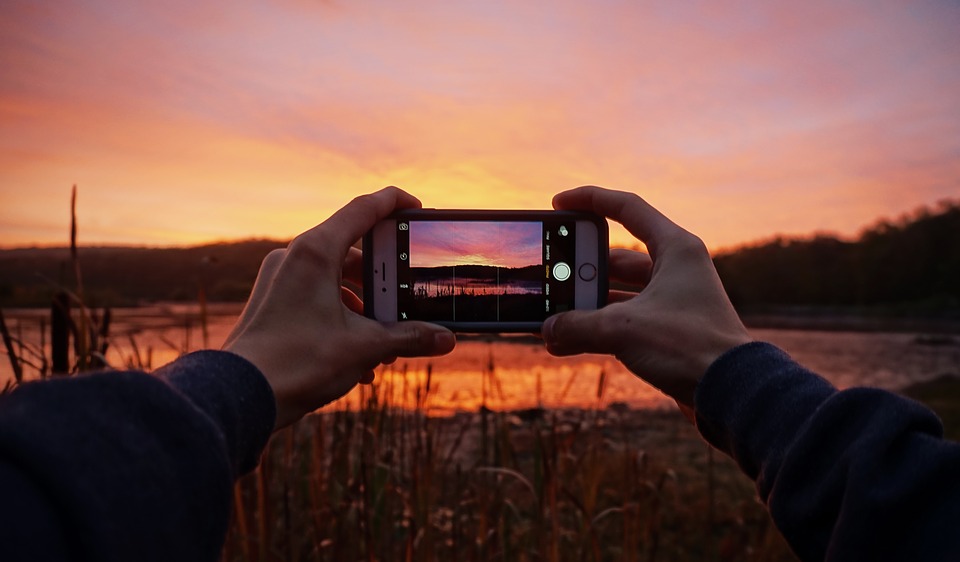
4)Silhouettes
For stunning and captive images, silhouettes are easy to achieve – just shoot towards the light, tap to set focus, then swipe down to darken exposure. Nature’s best times for such photographs are sunrise and sunset. When the sun is low above the horizon it is easy to position the light behind the subject, on top of, having a naturally beautiful sky. If you are indoors, not a problem, just have the subject in front of a window or lamp.

5) HDR Effect
One of the advanced features on the iPhone is the HDR (High Dynamic Range) Auto software. HDR lets you take photographs in situations of high contrast light sources without having a distortion. What is does is takes several pictures, at different exposures, then mergers them together to create a unified image. Just manually turn on the HDR button to achieve its desired effect.
6) Depth
A great way to captivate the viewers eye into a scene is with depth. This is an especially important aspect for Landscape Photography. You may do so by finding the leading lines in the scene such as roads, paths, rives, railroad tracks, and the water’s edge. Another way to enhance depth is to include an interesting object in the foreground, middleground, or background. It is a simple and effective way to add a three-dimensional depth to your photograph. A Metal Print would reveal death of an image in a superb and unique way.

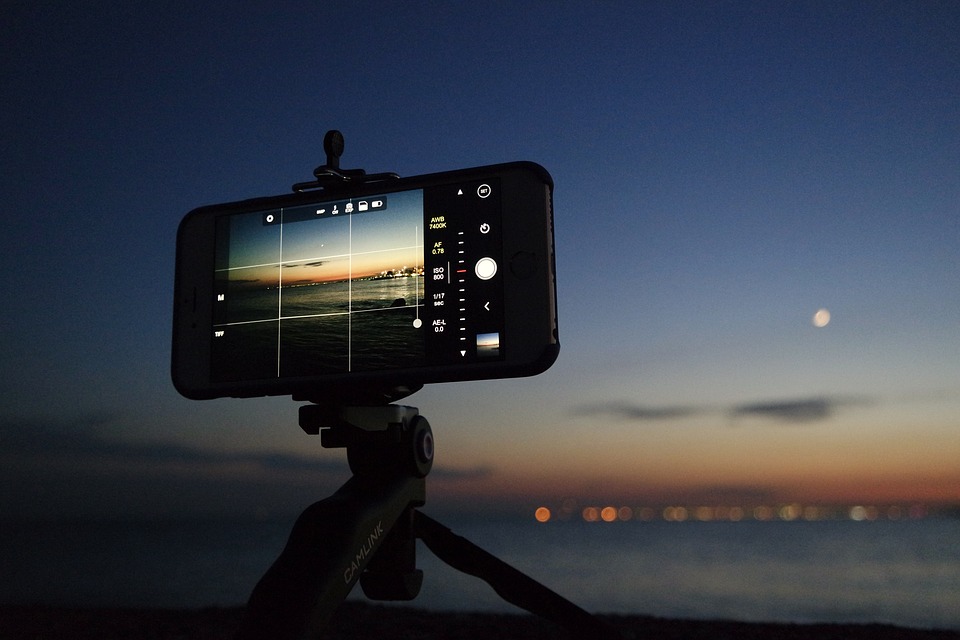
7) Clarity
Low lighting is a challenge for the iPhone, so taking pictures during dusk or indoors require certain techniques. Yes, the iPhone compensates by taking longer exposures, yet it requires a steady hold. If not, be prepared for blurry images. With its thin and compact frame, you have to get creative to avoid a shaky hand. A few ways to overcome this is to lean your body against the wall, rest your elbows on a surface, or even press your elbows against your sides while holding the iPhone with two hands. Another option is the self-timer at it gives you a quick moment to prepare. Lastly, an accessory such as a tripod, will provide a secure structure that keeps the iPhone in place.
The important part is to have fun with your images. To shoot through the lens of how you perceive and take in the world around you. However, these quick tips can help land that perfect shot with the iPhone camera. Whether its a change in angle, to waiting for the lighting to change, it all comes down to the end result. It may take time, effort, and of course patience, yet with practice you will have your techniques well known and ready to put in motion. Jump in and use whatever tools are available in that moment at your disposal.
It also does not end with the iPhone either. There are editing programs such as Photoshop or applications for different filters that can add that extra flare to the photograph. Further, many accessories and added features are available to explore in the world of digital photography. The possibilities are there, you just have to test what works best for you.

